Pages

Friday, 11 June 2010

Playing with paint

For the last couple of nights I've been playing with cardboard, gesso, black paint and metallic rub-ons. You know when you get in that mood to create something that might just WOW yourself - well this is it!!!  I think :O


I've just used a piece of cardboard, cut out an aperture (saving the remainder for the insert), covered it in tissue paper (making sure I had lots of wrinkles for some texture) and once dried coated it in black acrylic paint.  I then rubbed in some gold metallic rub-ons to create a metallic finish.  Added some gorgeous lace from my stash  (Running with Scissors), spritzed some cream roses with Glimmer Mist and Diamond Stickles, some pearls were added and I used my Tim Holtz  Flourish Die Cut and that's it!!

Well thats it for now as I'm preparing a cigar box (got you one too Sue :O)  ) for holding some vintage tags that I'm in the middle of - Have a good weekend

Polly xx

Monday, 7 June 2010

Lets Get Shabby - Paint, Lace and Chipboard

Yeayyyyy - finally got my Lets Get Shabby challenge completed and entered over on their blog ahead of time!!! (my time that is)!   Whatever will happen next!!!

Their challenge this month was to use paint, chipboard and lace in your project - loved the challenge and loved doing this little plaque.


The vintage lady images from Crafty Individuals were covered in clear embossing powder, heated up with my heat gun to melt it all and then popped into the freezer for about 15 mins - once removed from the freezer I lightly scrunched them up to create the cracks.  I then rubbed Walnut Stain into the cracks to highlight them.

2" pieces of chipboard were inked up with Dusty Concord and the embossed images glued on top.  A piece of chipboard was prepared with gesso and once dried a coat of lilac acrylic paint was applied with kitchen roll.  I then painted Tim Holtz crackle paint on it and once the cracks started to appear speeded the process up with my heat gun.  Dusty Concord was again rubbed into the cracks and then round the edges I added Diamond Glaze and covered the edges in little purple beads.  I then added a small rub-on quote to the centre of the painted chipboard.

Some very cheap lace from Boyes (30 pence for a huge bundle)!!  was added round the edge as a frame and because I couldn't stop there!!!! I then painted another piece of chipboard with gesso and then acrylic paint.  Once dried I inked up a lovely large flourish stamp and lightly stamped it round the edges.  A few butterflies were added and that's it I think. 

Here is a close up of one of the ladies and the crackle effect created with embossing and Tim Holtz crackle paint.

Again not very shabby - more your vintage style :O).  Just cannot do shabby - Oh well!  For fantastic inspiration please hop over and check out Lets Get Shabby - my fave site if you didnt already know lol. :O)


Well that's it for now

Thanks for looking TTFN

Polly xx

Monday, 31 May 2010

My 3rd challenge on Our Vintage Affair - a Tussy Mussy


Well my 3rd challenge on Our Vintage Affair is now up and running - the theme this month is
Tussy Mussies (my hubby just loves the name lol - long story )

So here is my example of a Tussy Mussy


Debbie from Delish Designs has kindly sponsored this month with some lovely 12x12 paper, brads and
 rub-ons from her High Tea paper collection - very vintage.

I hope you will join in the challenge (template and instructions can be found here ) and have fun

Polly xx

Sunday, 23 May 2010

My first entry into 'Stampotique Designers Challenge'

Ever since joining the Suzi Blue Doll Academy I've started looking at 'cute' stamps in  a different light and I've now decided to sell quite a few of them on Ebay.  But .... I've discovered Stampotique stamps :O) and just had to order a couple.

Their current Stampotique challenge is to use a template of any kind so I've used a basic box template which I've covered with some lovely dotty paper by Delish Designs. The paper was punched with a Martha Stewart punch and I've used my Spellbinders label punch to hold the quote on the front.  'Karin' has been stamped onto Bristol Board and coloured in with my Prismacolour Pencils.  And here it is.......


Believe me - once this has been posted that yummy gorgeous chocolate cream cake will be no more and I?  I will be several pounds heavier as they came in a pack of two and I bought 2 packs :O)

Well thats it for now - thanks for looking Polly xx

Monday, 17 May 2010

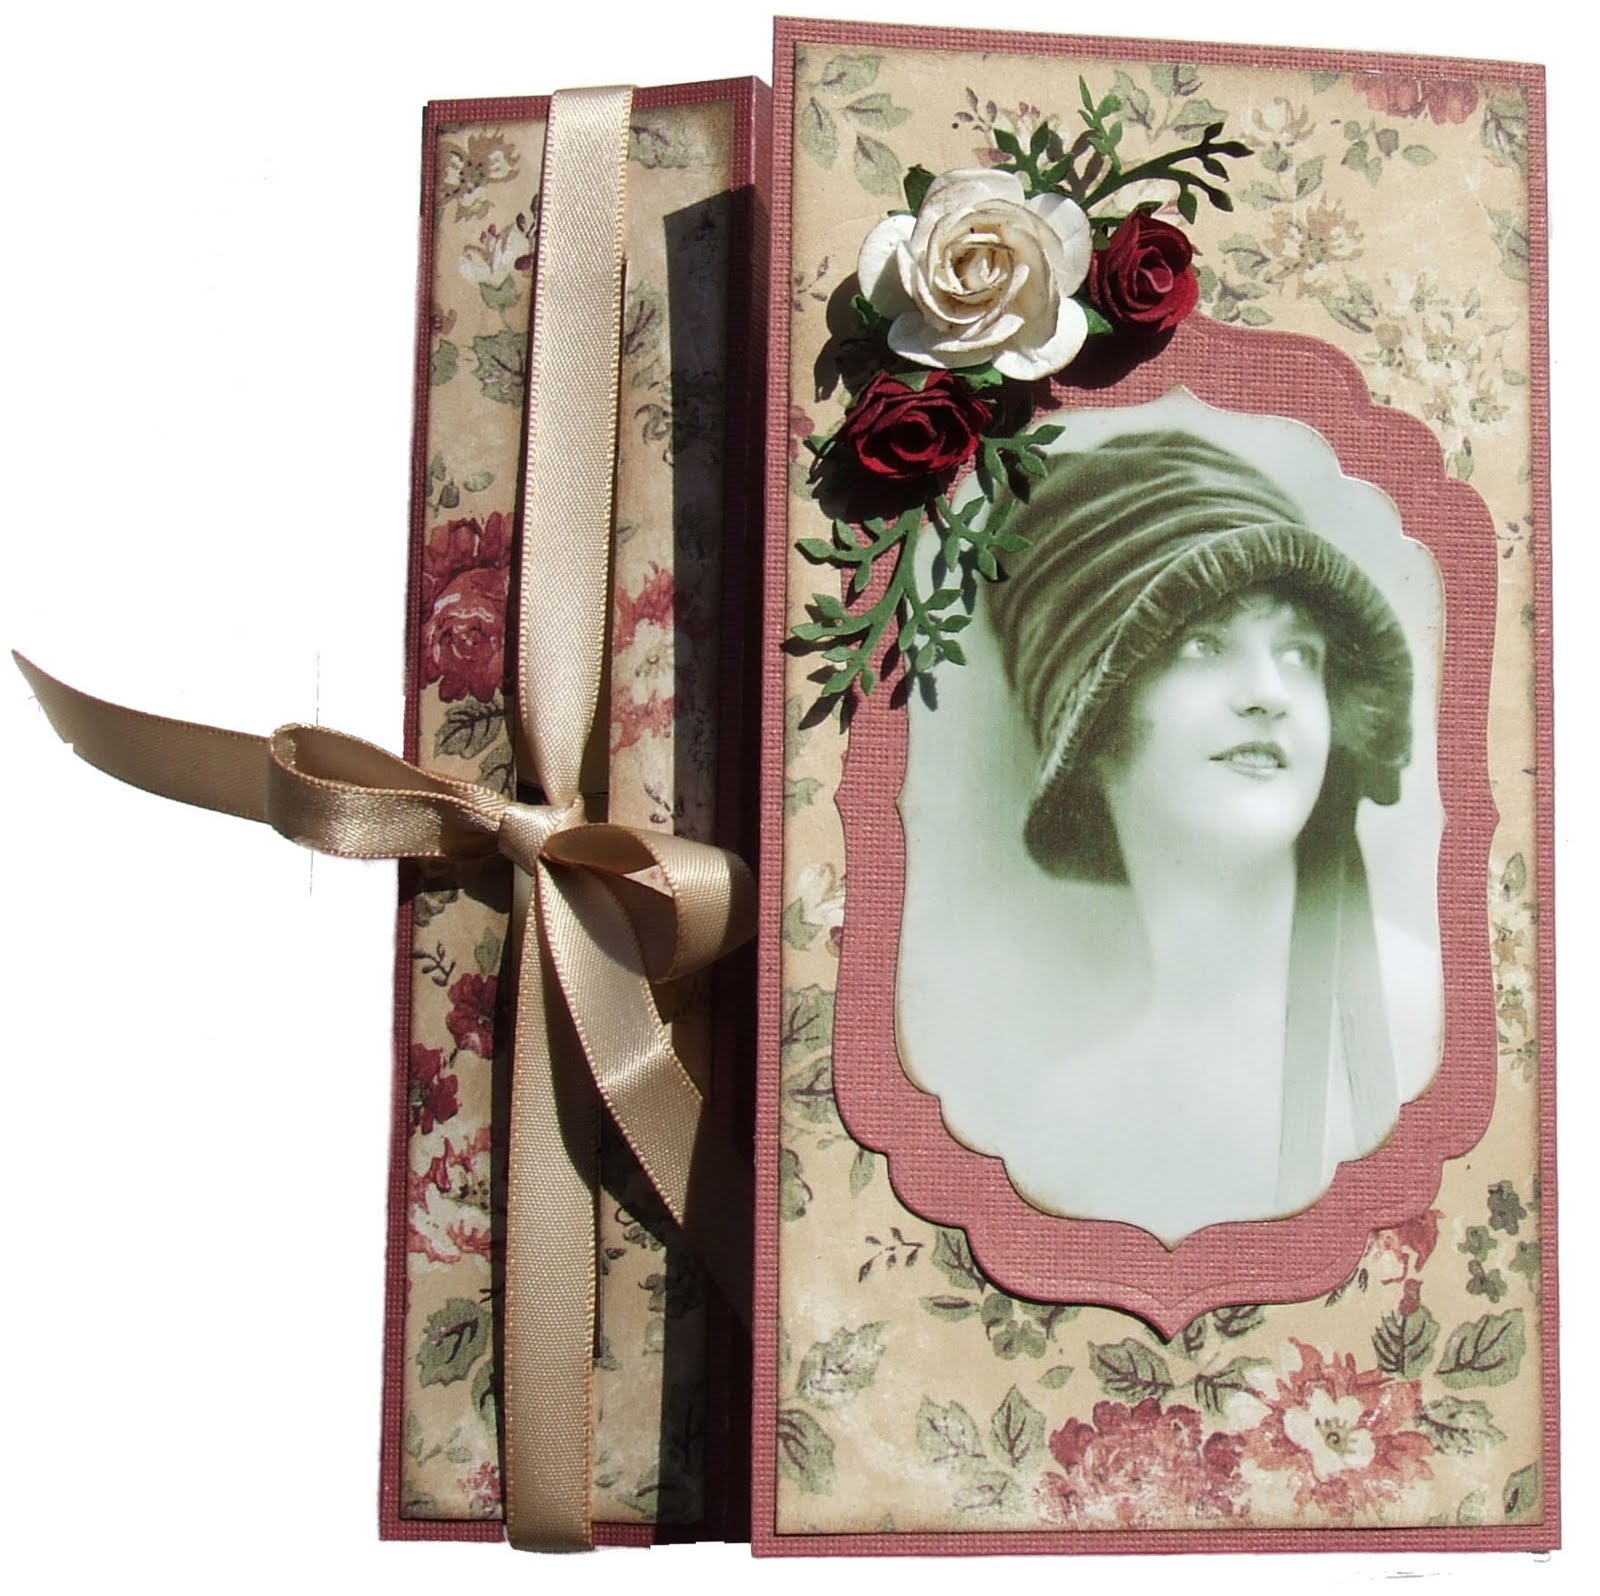
A Vintage Card with some tealights

Gosh it's been ages since I've blogged anything or even commented on friends blogs - what with the house and garden, work, and then we did Go Ape last week in Derbyshire time just seems to have flown by.

This card I made at the weekend - its one of those cards I've been meaning to do for a while now but hey!


And here is the card opened


The ribbon keeps the little 4 tealights inside just nicely but you can't see them which is a shame  - what I might do is change the template a little and make little tabs at each end so I don't need to use ribbon and then you can see whats inside. 

I mentioned earlier about Go Ape - well here's just a couple of photies - it was great fun even though I'm not good with heights.


Here's Steve gracefully crash landing from the zip line!!!  (still he always manages to smile for the camera)!!!!


Here's Viki trying to fathom out how to come unhooked from the rope


And heres me in the distance on the zip line - thankfully you can't hear me screaming or see the landing - straight on my butt and covered in woodchip!!!


Well's thats it for now TTFN xx

Saturday, 1 May 2010

My second challenge over on Our Vintage Affair

I have just set the second challenge over on Our Vintage Affair - we're going to create BAGS!! These are the ones I have been working on most evenings this week.


For the 'gift bag' I've just covered a paper bag with cardstock and then decorated it. Any bag will do (especially the pick n mix sweet bags from Morrisons :O). I actually made the large cream flower from scalloped circle nestabilities - quite fun to do so will be making more of these) For the other bags I made a simple box for the inside and used my largest rectangular nestabilities to make the front, back and the flap. Splitcoaststampers have some bag templates and tutorials that are easy to follow if you feel like popping over and joining in.

Have a lovely Bank Holiday weekend

TFL

Polly x

Friday, 30 April 2010

A Bit of Vintage

I have put away my 'cute' stamps for a while. I was looking at all my stash last night - I have quite a bit and ashamed to say stash that I just haven't used. I'll go in the craft room intending to do something constructive and after 2 hours of being in there - I have nothing completed because I've found something I forgot I had bought and start playing with that. So my mid-year resolution is - go in there and concentrate!!! (Yeah right) :O)

Anyway this is one card that I have completed. Steve bought me this round the edge punch and because its so like my doily punch it has fast become my fave! It's fab! In fact I have made 4 cards over the last couple of nights and all 4 have this punch used on it. :O) The sentiment is one that I tend to use for Mothers Day cards but I really like it just because. The paper is.... hmmm not sure :O) , the flowers (pink vellum) and leaves (cardstock) were from EK punches. All the burgundy pearls used on the card are from The Hobby House. And here it is...


Off to concentrate now on Our Vintage Affair challenge which starts in a couple of days and guess what - not quite finished it yet :O)

TTFN xx